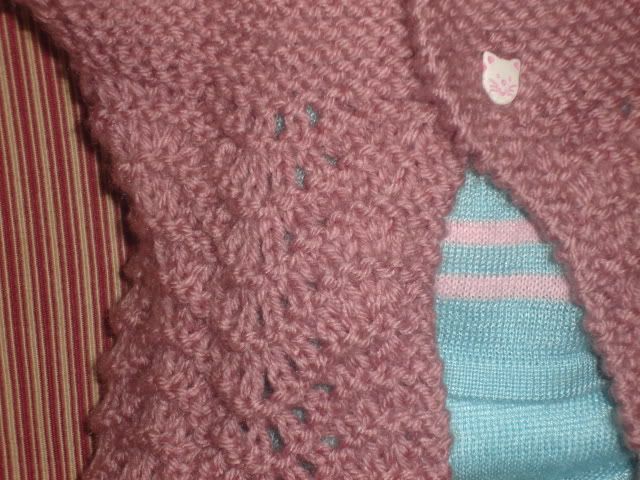
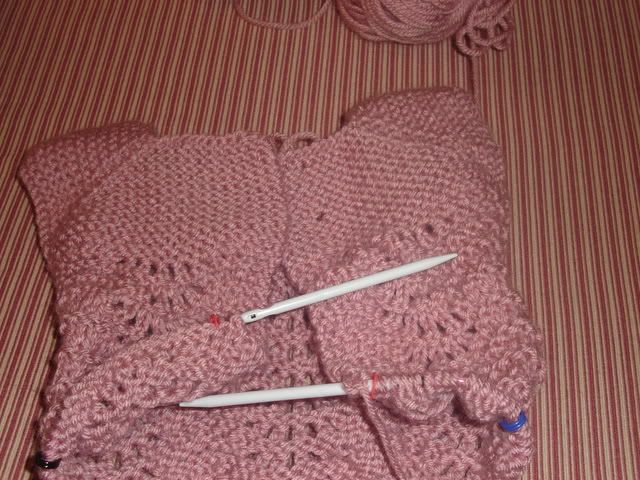
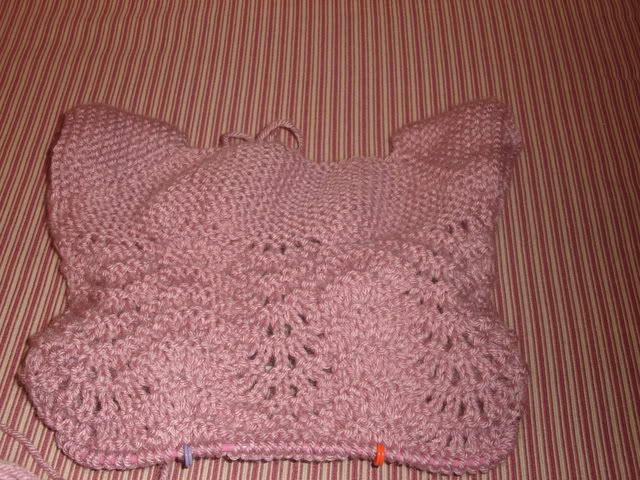
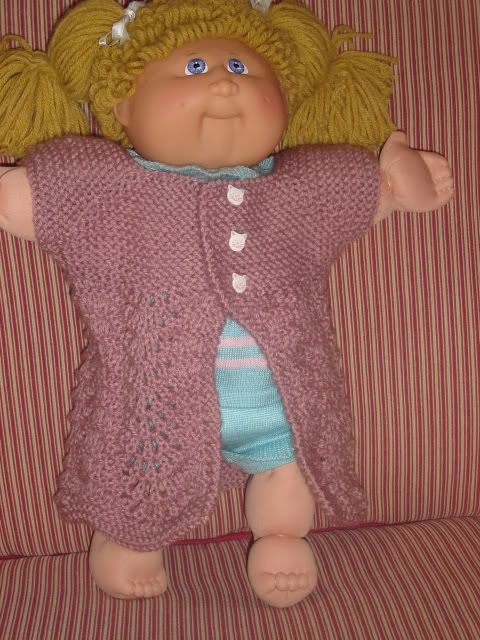
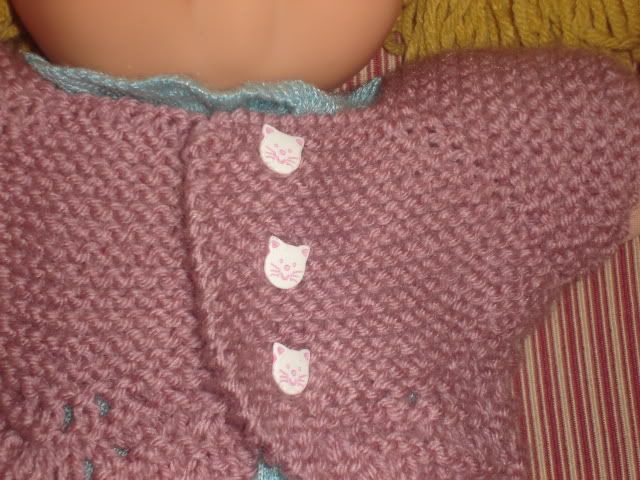
I finished up this Boheme for a friend of mine this morning. I think it turned out really cute. I used the feather and fan stitch for the "skirt" part instead of the tulip lace and I LOVE how it looks. I think I will do the same thing on Layla's little Easter sweater that I am getting ready to cast on. I am tryig to decide if I should make her a hat too (my friend, not Layla) to match the sweater. I hope that Crystal likes it...It looks great on the Cabbage Patch Doll....Doesn't it?
I'm going to hunt up some bulky yarn and cast on for the Twiggy to test it for you...Hmmm...guess that means I'm going to have to stash dive...oh darn. Actually, I think I have some GREAT Lion Brand Chenille that will look very cute!
Thursday, March 12, 2009
Tuesday, March 10, 2009
I'm Here, I'm Here!!
OK, so sorry that I have been gone for so long, life just gets in the way sometimes. I don't have a whole lot of time to post, but I wanted to at least post a big here and comment on your things and let you know what I have been up to!
I LOVE Hazel's little dresses. They are so cute! And her Twiggy...WAY adorable...I'll have to figure one of those for Jillian. I like your buttony, but between you and me, I think it would be better without the stripes. It is cute though, I think the style looks good on you personally. Now, I can't remember what else you have posted...darn my memory. I'll have to take another look!
This is what I have been working on.
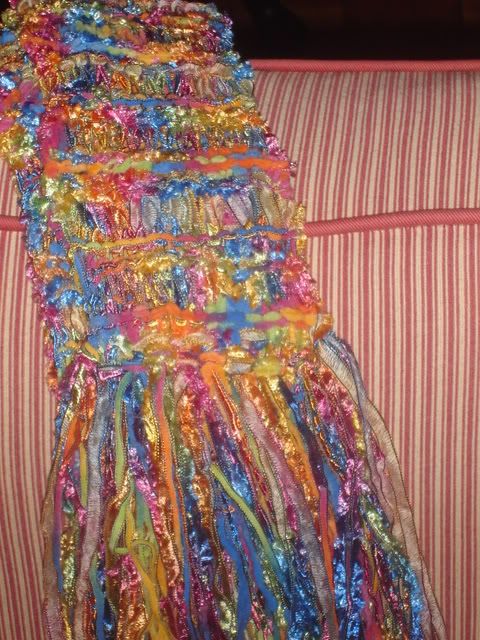
A drop Stitch Scarf with Special Effects by Yarn Bee:
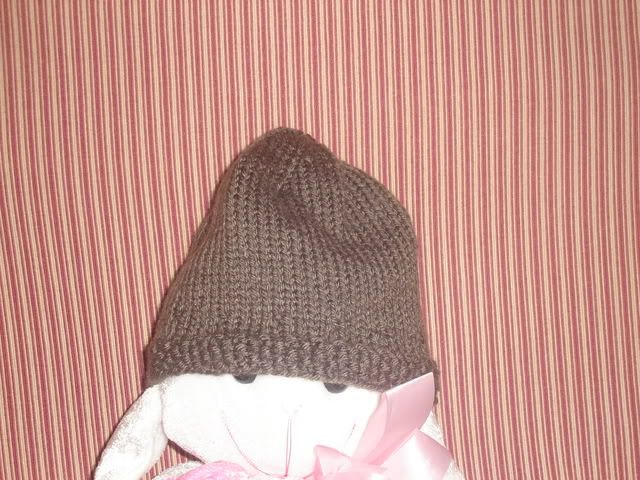
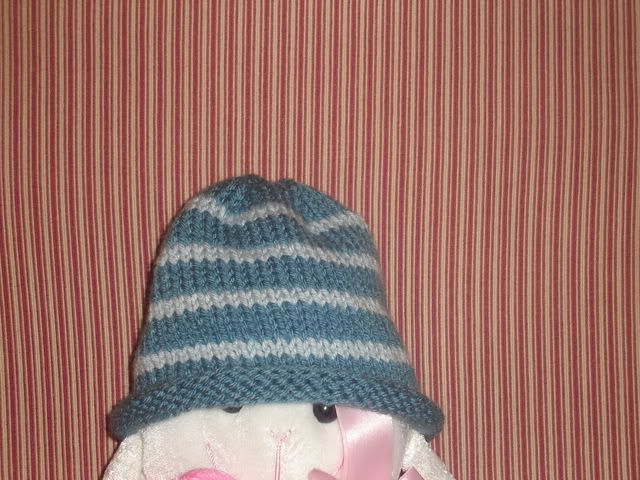
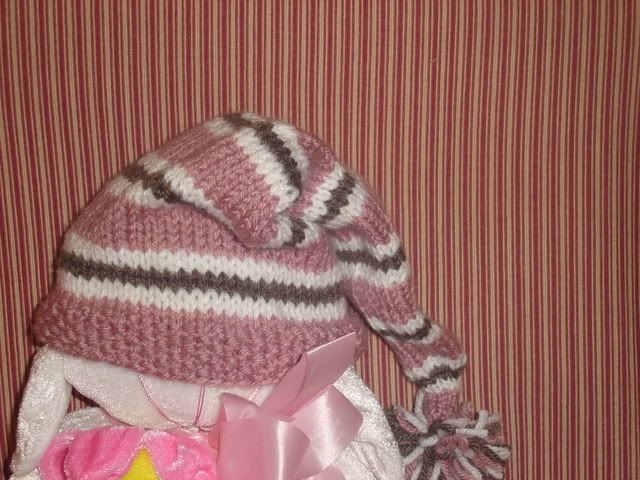
Baby Hats for my Cousin's Photography Business:
You can see one of them in action at her blog. I think they turned out really cute. And that adorable baby on her blog? That's my new nephew, Joshua...isn't he cute?!?!
What I am working on now are these:
A baby sweater for my friend Crystal's first baby girl in 14 years!
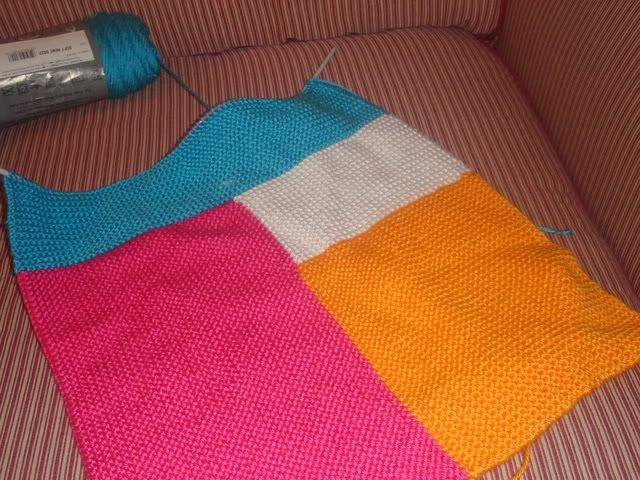
And a baby blanket for my friend Rian's first baby girl (she has 2 older boys).
I think that is all...I am getting ready to start a white sweater for Layla for Easter and then the February Lady for me....I LOVE knitting! :)
The Twiggy
Okay, so I've had several requests for the pattern for Hazel's top. I can't take full credit for this pattern as it was inspired by the Buttony sweater I made for myself. I decided to call it Twiggy as it reminds me of a jacket that would have been trendy in the 60's...and what's 60's trendier than Twiggy?
Twiggy
Yarn: Bulky weight (I used Baby Bee Dreamy Baby Chenille in Ladybug) about 205 yds
Needles: US size 10 1/2 (6.5 mm) circular, and DPNs
Gauge: 12sts/16 rows = 4 inches (10cm)
Size: 18/24 mos
*modifications to pattern are in red
Notes: The top half is knit flat then the sts are joined and knit in the round. The sleeves are knit in the round on DPNs. After the garment is knit, there should be no sewing involved other than adding the buttons and weaving in loose ends.
In all areas that it tells you to M1 (make 1) pick up the bar between the last st on the right needle and the first st on the left needle from the front with the left needle and knit through the back. This twists the st and prevents a hole from being created.
CO 48 sts.
Row 1: Sl 1, K5, work 2x2 ribbing across to last 6 sts, K6
Row 2: Sl 1, K5, work ribbing as established to last 6 sts, K6
Row 3: Work as row 1 to last 6 sts, K3, yo, K2tog, K1
Row 4: Work as row 2
Rows 5-6: Work rows 1 and 2 once more
Row 7: Sl 1, K5, pm, K5, pm, K18, pm, K5, pm, K across
Row 8: Sl 1, K5, P across to last 6sts, K6
Row 9 and all odd rows: Sl 1, (K to 1 st before marker, M1, K2, M1) four times, Knit across to end
Row 10 and all even rows: Sl 1, K5, P across to last 6 sts, K6
Repeat rows 9 and 10 until 23 sts lie between the shoulder markers (the pm, K5, pm areas should now be pm, K23, pm) ending with row 10 (WS). Add 2 more button holes (K3, yo, K2tog, K1 as in row 3) approx 8 rows apart. This is more of an eyed button hole as I wanted to use large buttons. You could add more holes closer together if you wish, just make sure there is plenty of rows between to create a firm hole.
*note: If you're knitting on straights at this point, it would be the time to switch to circulars as you will begin to knit in the round after the next row. Make sure when you knit across the gap created by the set aside sts that you pull the gap closed to avoid any ladder effects or needs to stitch up the underarms. The saved sts will fold in half and create the armholes.
Next row: Sl 1, K to marker, remove marker, slip stitches to next marker on scrap yarn, remove marker, K to marker, remove marker, slip stitches to next marker on 2nd scrap yarn, remove marker, K across.
Round 1 and 2: Pm to indicate beginning of round, join in the round, and Knit even.
Round 3: (K4, kfb) around to last 4 sts, K3, kfb
Round 4-8: Knit even
Round 9: (K4, kfb) around
Next rounds: Knit even
Continue to Knit even until the piece measures the length desired (I knitted until piece measured 8 1/2 inches from the underarm).
Next round: Purl even
Next round: Knit even
Next round: Purl even
Bind off.
Sleeves:
Note: Sleeves are started on 4 DPNs to make picking up the 4 underarm sts simpler. After the first round is knit and the 4 sts are picked up, you will knit the remainder of the sleeve on 3 needles.
To transfer the held stitches to DPNs, start with the far left st and work to the far right st as follows: Needle #1-3sts, Needle #2-9 sts, Needle #3- 9 sts, Needle #4 - 2sts.
When picking up stitches on the underarm, look at the underarm. It is V in shape. After working the 2 sts on Needle #4, pick up and knit 2 sts down the side of the V nearest to Needle #4, then with Needle #1, pick up 2 sts up the side of the V nearest to Needle #1 and knit them and the held sts on Needle #1 onto the DPN used to knit Needle #4 and the first 2 picked up sts. This results in 9 sts on each of 3 DPNs, the 4th will no longer be needed.
Begin knitting on Needle #3, pm to mark beginning of round.
Needle 3: knit
Needle 4: Knit 2, pick up and knit 4 sts from the underarm, knit across 3sts on needle 1.
Needle 2: Knit
You should now have 9 sts on 3 needles.
Knit even for 2 more rounds.
Next round: K3, work 2x2 ribbing around.
Work this round 2 more times.
Bind off.
Work same for 2nd sleeve.
Attach buttons and weave in ends.
ENJOY!
P.S. Let me know if you run into any problems with this pattern!
Monday, March 09, 2009
The Buttony twins
So I finished my Buttony on Friday night...finally. I felt like I had been knitting up mohair yarn for a lifetime even though it was only 2 1/2 weeks. Then I tried it on. Yikes. First off, I had no idea that the yarn was self striping...so we're talking horizontal stripes....the What Not To Wear Team would go bananas. Secondly, it's an absolutely darling sweater, but unless you're a size 8 or thinner, you have no business trying. It has absolutely no shaping, so you have to add the shaping, and I tried. You still get what looks like a box. Anywho. That's probably b/c I'm shaped like a box, but that's besides the story. I'll post pics, but be aware, it has no business on my body :) It's going to my SIL, Linds, b/c it will look WAY cute on her with her red hair.
Then, I have this yarn I've had since last August and I thought it would be perfect to make a Buttony for Hazel. Well, I started, and as I was knitting along, I decided to change it up...a lot. I'm so excited about the turn out. It's knitted flat to the underarms and then knit in the round afterwards, adding sts to make it more of a skirt effect to the top....
Sunday, March 01, 2009
What was I thinking?
So I decided to make the girl I got to Mom & Tot's group all slippers for Mother's Day (which is March 22 here). I'm just doing the simple Pocketbook Slippers pattern so that I'm able to get 5 pairs done quickly. I have all the girl's favorite colors and the first slipper took 2 evenings. I'm not fast, so it takes approx 2 hours for a slipper. I have 10 total to do...8 3/4 left at this point. That's about 18 hours of slipper knitting. Then sewing them all up and decorating. I have 3 weeks. Plus I want to finish my Buttony cardigan for knit night next week, therefore freeing me up to make HAZEL'S Buttony (or atleast start it) at that same knit night. Plus I took a class on bag knitting yesterday and came up with a cute clutch I'm calling "Poppy"...that is if it turns out like I think it should.
So the list for this month's knits come to:
1. 10 Pocketbook Slippers
2. My Buttony
3. Hazel's Buttony
4. Poppy
And none of that even includes the stuff I still need to finish for my loved ones that was due 2 months ago.
What on earth am I doing to myself?
So the list for this month's knits come to:
1. 10 Pocketbook Slippers
2. My Buttony
3. Hazel's Buttony
4. Poppy
And none of that even includes the stuff I still need to finish for my loved ones that was due 2 months ago.
What on earth am I doing to myself?
Subscribe to:
Posts (Atom)